I have a fun fold for Merry Monday this week! It is a fold I learned by watching Julie DiMatteo on her Paper Pixie You Tube. I believe she called it an Accordion Fold, aptly named because you “play” the accordion as you open and close it! I used the So Very Merry Stamp Set and Merry Bold & Bright DSP. Moosh it together and you get So Very Merry, Bold, & Bright!
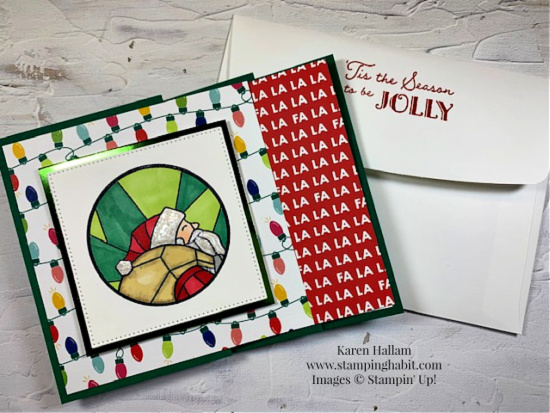
I have lots of pictures at various stages of opening this card. Here it is closed and ready to go into the envelope:
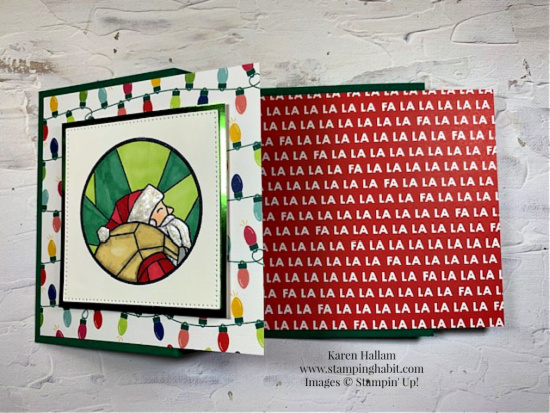
Here, I am beginning to open it:
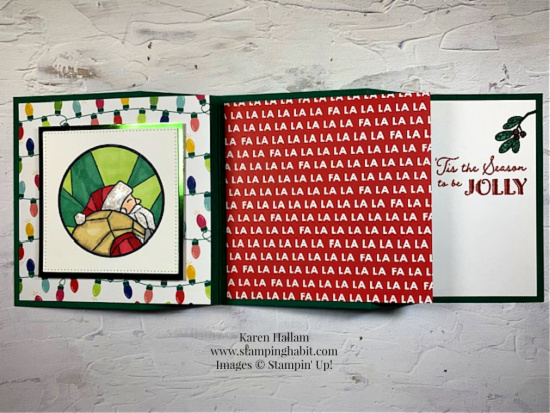
And here it is all the way opened:
Let’s Put It Together
- Begin with Shaded Spruce Cardstock, cut to 11″x 4-1/4″
- Score it at 2-1/2″ and 4-1/4″. Flip it over and score at 3-3/4″ and 8-1/4″. Fold mountain, valley, mountain, valley ~ in accordion fashion.
- Cut two different pieces of Merry Bold & Bright DSP at 4″ square.
- Read carefully: With the 2-3/4″ panel on the left, glue the lightbulb DSP to that panel. About 1-1/4″ will hang off the right edge. Don’t glue the back of the DSP, or this won’t work. Glue only onto the cardstock panel and line the DSP up so there is about 1/8″ cardstock showing on top, left, and bottom sides.
- Next, glue the Fa La La piece to the third panel in the same manner as the first one.
- Cut 2 pieces of Basic White to 3″ square and 4″x 2-1/4″ rectangle.
- Crop the 3″ square with the largest of the Stitched Shape square dies.
- To the 4″x 2-1/4″, stamp with So Very Merry stamps, color, and glue it to the last panel on the right.
- Cut a piece of Granny Apple Green Foil to 3″x 3″ square.
- Adhere it to the Light Bulb panel in the center using Dimensionals.
Stamp & Color
- Stamp the Santa from So Very Merry into the white stitched square. Color with Blends. Add Pearlized Enamel Effects White to his beard and cap. When dry, glue it over the Foil square.
- Finish with a bit of DSP on the front of the envelope and a stamp on the back flap.
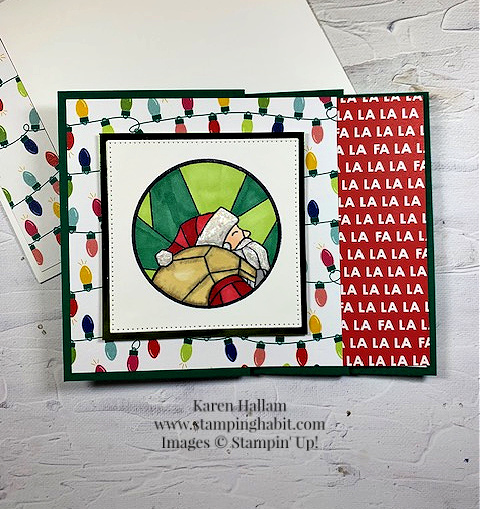
I’m in love with this fold! I think it’s so fun. I hope you’ll give it a try and experiment with whatever papers and stamps you have.
I’ll be back on Wednesday with CASEing Coast to Coast with Rosanne, and Thursday with Create With Connie & Mary. Then I’ll be on vacation for a week, in case you’re wondering why you’re not seeing me for a few days! 🙂 Have a great week!
Product List
|
|
|
|
|
|
|
|
||
|
|
|




So fun. I ordered that stamp set. It works so well with the DSP. I think I will watch Julie’s video before I try this. It looks so fun though. My friend who died a few months ago played the accordion. So, I feel like I need to give this a try in her honor. She was a gifted card maker.