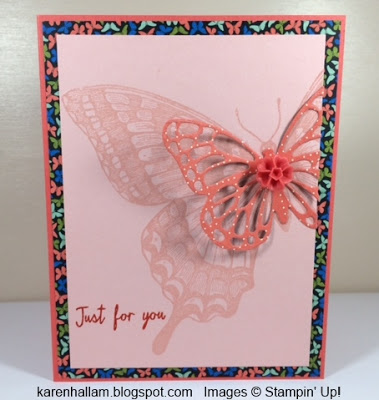
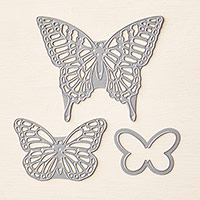
I finally broke down and bought the Butterflies Thinlits. Why did I wait so long?! I think I was afraid that they would be hard to get out of the die with all those little holes. Not at all! The trick is waxed paper and a fabric softener dryer sheet. Just sandwich the DSP or other paper choice between a piece of waxed paper (on bottom) and a dryer sheet (on top), then put the die on top of all layers and roll it through the Big Shot. It works like magic! All the little cut out pieces stick to the dryer sheet and you are just left with a beautifully cut-out butterfly. Now you know! 🙂
The base of this card is Watermelon Wonder. The tiny butterfly DSP layer is from Pretty Petals DSP Stack.
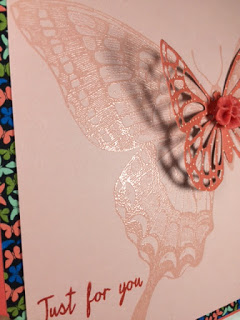
I stamped Swallowtail on Blushing Bride cardstock with VersaMark and heat embossed it with Clear Stampin’ Emboss Powder. Don’t you love this big bold butterfly stamp? It is a single background stamp, found on page 129 of the Annual Catalog. It comes in wood block mount or clear mount.

Love the shine that the Clear Embossing Powder leaves!
I used the medium sized butterfly thinlit and the Watermelon Wonder sheet from Pretty Petals. It is actually the back side of the tiny butterfly paper I used for the frame layer. Paper Saving Tip: Cut your DSP layer at 5 3/8″ x 4 1/8″. Then cut a rectangle out of the middle approximately 4 3/8″ x 3 1/8″, or 1/2″ in from all edges. Now turn it over and cut your butterfly from that rectangle. It’s the perfect size!
It is attached with glue dots and trimmed on the right side to line up with the edge of the card. A Watermelon Wonder In Color Blossom Accent piece finishes off the butterfly. I stamped the sentiment from Watercolor Wings stamp set, also in Watermelon Wonder.
This had a lot of steps to describe but really was easy to put together. I hope you like it and will try it. If you don’t have all the materials, you can purchase them from my online store by clicking on the pictures at the bottom of this post.
Have a wonderful weekend! Until next time ~
Happy stamping!
Karen
Built for Free Using: My Stampin Blog


